App Inventor版 ChatGPTと話そう!(その2): (その1)に機能追加
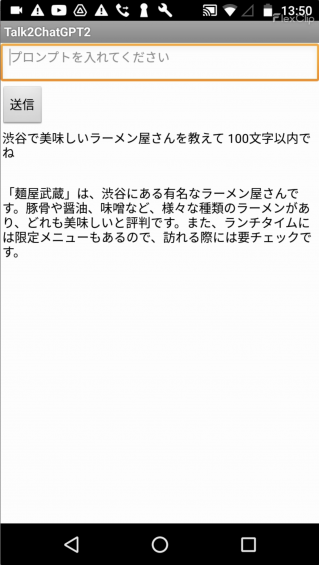
GPT-4を使ってApp InventorアプリのチュートリアルページからiPhoneアプリを作ることを試み、既に5種類のiPhoneアプリを作ることに成功しました。しかし、一々チュートリアルページを作るのは面倒なので、App Inventorアプリの情報をチュートリアルページを使う以外でGPT-4に渡すことができないかと検討していましたが、やっと見つかりました。ここではApp Inventor版「 ChatGPTと話そう!(その1)」 に音声入力・出力機能を付け加えて、「ChatGPTと話そう!(その2)」を作ります。ただし英語でGPT-4プロンプトを入力しないとまともな返答をしてくれませんでした。
前準備
- App Inventor日本語版でApp Inventor版 ChatGPTと話そう!(その1)プロジェクトを選択してプロジェクトメニューから「選択したプロジェクトをローカルコンピュータにエクスポート(.aia)」を実行し、ローカルコンピュータに.aiaファイルをダウンロードします。
- ローカルコンピュータでダウンロードしたファイルの.aiaを.zipに変更し、このファイルを解凍します。
- フォルダーの中にScreen1.bky, Screen1.scm, project.propertiesの三つのファイルがあります。これらをGPT-4に送り込みます。
GPT-4とのやり取り
プロンプト
ソースコードは長いので省略しますが実際はファイル名の後にコピペしています。
Do you understand what the App Inventor project files doing below?
project.properties:
Screen1.scm:
Screen1.bky:
返答
These are MIT App Inventor project files which define an app that interacts with the OpenAI GPT-3 model to provide a chat interface. Let’s break down what each file is doing:
project.properties: This file contains metadata about the project, such as the app name, version, primary and accent colors, location usage, etc. It also defines the main screen of the application and the location of source files, assets, and build files.Screen1.scm: This file describes the components of Screen1 in the form of a JSON object. It specifies the UI components and their properties such as Text Box, Button, Labels, and Web components.Screen1.bky: This file is written in Blockly, a visual programming language developed by Google. It defines the functionality of the application. Here’s a high-level overview of what this file is doing:
- The app takes input text from
TextBox1.- When
Button1is clicked, if the input text is not empty, a web request is made to the OpenAI API. The headers for this request are set to include the appropriateContent-TypeandAuthorization(with a global API key). The body of the POST request is formed as per the OpenAI API specifications, including the input text as the message from the user to the GPT-3 model.- When the response from the API (
Web1.GotTextevent) is received, it is decoded from JSON and processed. Thecontentfield is extracted from thechoicesarray, which contains the GPT-3 model’s generated response. This response text is then displayed inLabel2. The original input text is also displayed inLabel3, andTextBox1is cleared.Please note that these are general interpretations based on the information provided. The precise behavior of the app might vary and is subject to the entire codebase and the runtime environment.
正しく理解しているようなので、音声入力・出力機能を追加してもらいます。